SP SD9E 4314
My HO scale SP SD9E 4314 is a customized and detailed Proto 2000 model. I like to model locomotives that I have seen and photographed myself. I caught the real Southern Pacific 4314 in South San Francisco in 1995 and took several pictures of it. I knew that eventually I’d want to build a model of it.
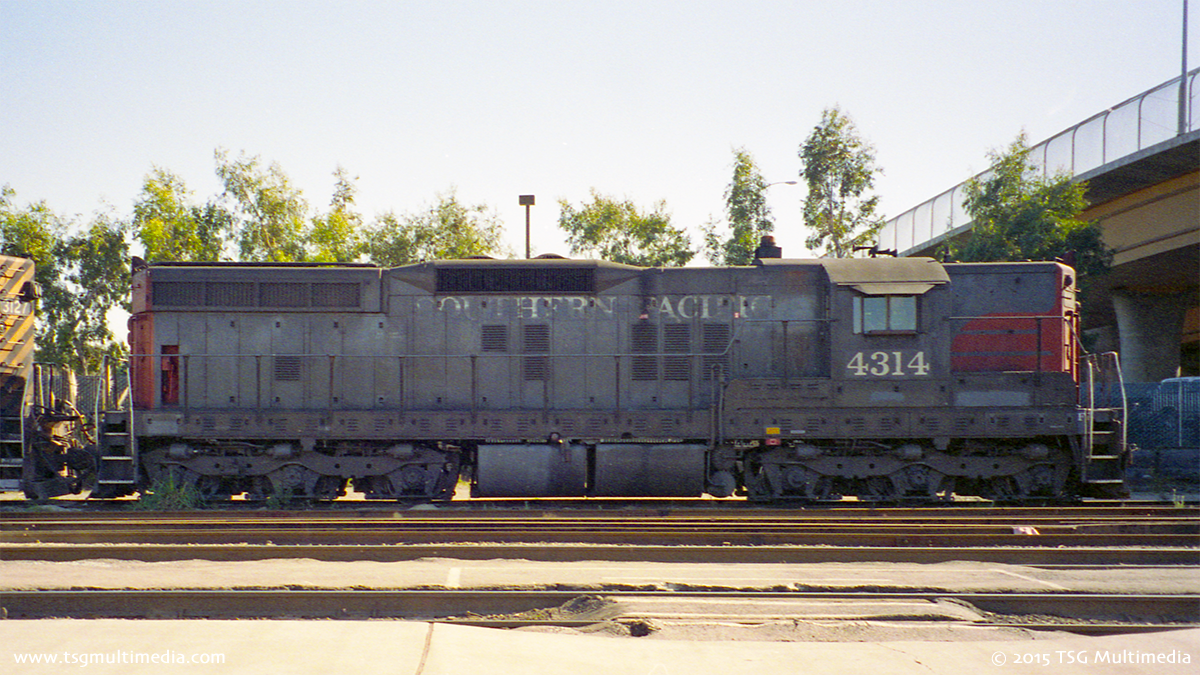
SP SD9E 4314, South San Francisco, 1995
To make an SP SD9E I needed a suitable starting point. I found a Proto 2000 Conrail SD9 on eBay. It’s pretty easy to remove paint from most Proto 2000 models so I wasn’t worried about the paint job. When the model arrived I found that one of the step wells was severely damaged. I suppose I could have tried to return the model but I got it at a good price. I decided to keep it.
My first thought was to repair the step well. Unfortunately the plastic was distorted in such a way that it was impossible to straighten. I suspect the engine had been dropped. Thankfully the frame was okay and it still ran well. The body was in otherwise good shape.
Proto 2000 parts are very difficult to find. Fortunately Atlas parts are easier to get. Atlas doesn’t make an HO scale SD9, but they do make an SD24. The SD24 sill and steps are almost identical to those on an SD9. The main difference is the battery box design. I went ahead and ordered an SD24 sill.
I cut the SD9 battery boxes from the damaged Proto 2000 sill. I cut the SD24 battery boxes off the new sill and replaced them with the SD9 battery boxes. It took a bit of work to fit the new sill to the SD9 shell and frame. I test fit everything several times until I was satisfied that it would work.
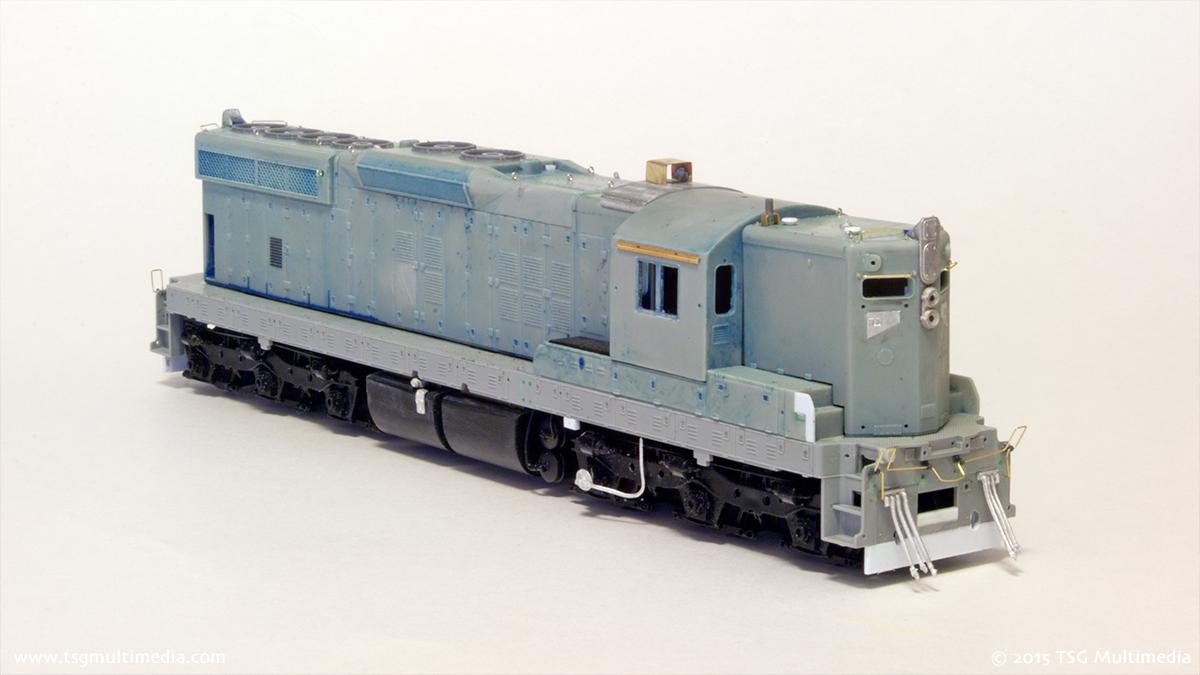
SP SD9E 4314 in progress
After the sill was repaired I started detailing the model. SP SD9E locomotives had trapezoidal sander access doors on both ends. Details West includes these as part of their SP SD9 detail kits. They can be glued on the outside but I chose to cut holes and recess mine into the body. The same kit provided the bulge on the top of the hood behind the cab and numerous other small parts.
The rear number boards and class lights were removed and filled. I had to putty, sand, and test paint the area several times until I could no longer see any seams. Most Southern Pacific SD9Es had a slightly different louver pattern on the hood doors than a stock SD9. I sanded off one set of louvers and made new ones in a different location using Archer decals. I modified the fuel tanks to deepen the recess at the top.
The brake ratchet on the Proto SD9 is too close to the end of the long hood. I made a new one from leftover Cannon parts and moved it about 6 scale inches toward the front of the locomotive. I also modified the pilots with sheet styrene. I made an emergency fuel cutoff switch from a piece of a scrap GP shell and glued it on below the sill to match the prototype photos.
I substituted Cannon 36″ fans for the originals. The uncoupling levers, beacon stand, and a small antenna (at least I think that’s what it is) on the short hood were fabricated from brass stock. Since I’d changed the sill the original plastic handrails no longer fit. I had to fabricate new ones from brass wire and Precision Scale stanchions.
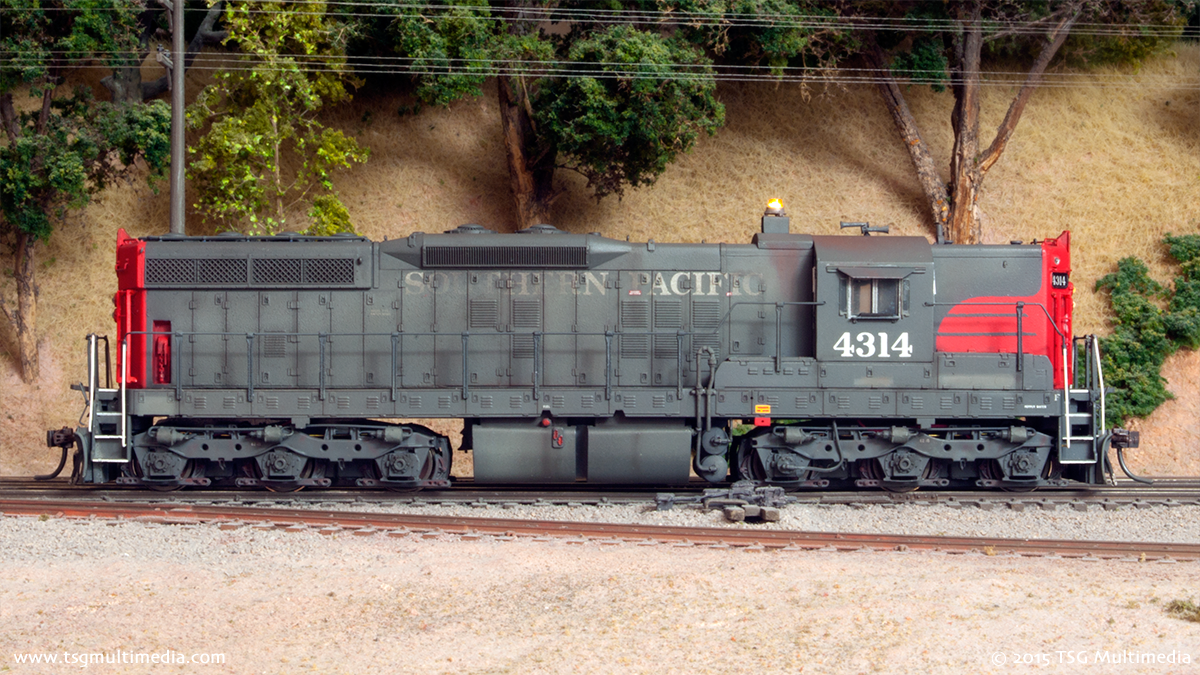
SP SD9E 4314
I painted the model with Scalecoat SP red and gray. I applied the red over a white or light gray primer coat and let it dry. Then I masked the hood ends and brake ratchet area and sprayed the gray. I did not mask the gray stripes in the “wings” on the nose. Rather, I sprayed the same SP gray on a blank decal sheet and cut out thin strips. Once applied they looked painted on and matched the rest of the gray perfectly.
I weathered the model to match the photos as closely as possible. In some spots I airbrushed more paint over the decals to make them look faded. All the decals are from Microscale. I made good use of weathering powders to make the model look dirty like the real thing.
My SP SD9E is equipped with a LokSound Select DCC sound decoder. Because of clearance issues, all of the lights were done with 603 surface mount LEDs. The headlights shine through fiber optic lenses. There is an LED inside the beacon. The front class lights and number boards can also be illuminated. All of the lights operate independently.
Comments are closed.