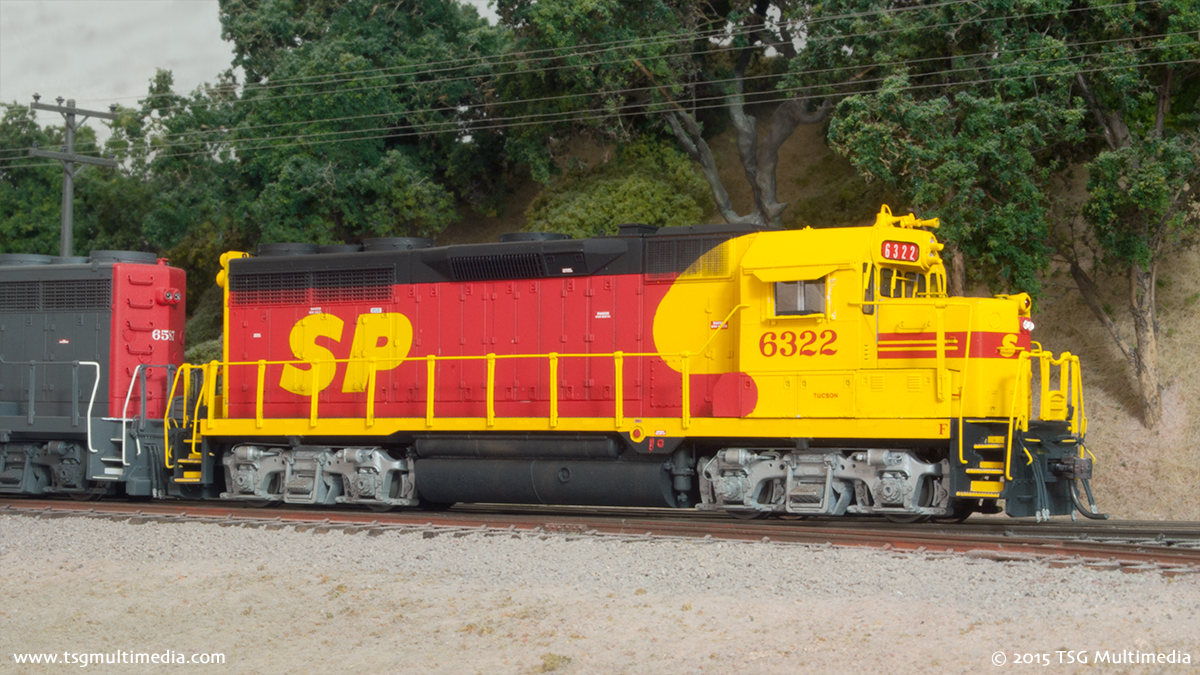
SP GP35R 6322
My HO scale SP GP35R 6322 is one of the first Kato models I ever owned. Way back when they were first introduced I bought two in Southern Pacific colors. This was one of those.
The model was already numbered 6322 but it was in scarlet and gray. I did some research and found out that the real 6322 was painted in the ill-fated SPSF merger scheme. Apparently it remained that way through the 1990s, the time period that I model. I decided to keep the number and repaint the engine.
I probably should point out that even if this were a scarlet and gray locomotive, I would have repainted it anyway. To make a model like this truly accurate requires a lot of modification. By the time I get done with that trying to touch up the paint would be more work than just starting fresh.
SP GP35R 6322
I started by disassembling the model. I got rid of the stock cab and cut the short hood off of the body. I used my Badger sandblaster to take the factory paint off the body and sill. Experience has taught me not to use chemical paint strippers on Kato shells. The plastic can become brittle and crack.
I cut off the footboards in the front and sanded the pilot smooth. In the back I left the box beam but removed the footboards. I made a new plate for the bottom of the front pilot from .010 styrene. I cut the coupler opening back a bit and drilled a new coupler mounting hole in the frame. This moves the coupler inward a few scale inches and makes the model more accurate to the prototype. I fabricated new uncoupling levers from brass wire and attached them with Detail Associates brackets. Other details on the pilots include MU hoses, grab irons, and nut-bolt-washer castings. I added photo etched steps over the stock steps in the step wells.
The trucks were detailed with brake lines. The front truck on the engineer’s side has a speed recorder. I added additional electrical pickup wipers to the trucks to improve reliability.
I used stretched sprue to make the seam around the middle of the fuel tank. I filled in the original fuel gauge holes and added a new fuel gauge in the correct location. I kept the factory air reservoirs but added moisture ejector valves from Details West. There is a Details West air filter under the sill on the engineer’s side. On the fireman’s side I fabricated a step extension from sheet styrene and brass mesh.
The original light housing was removed from the rear of the long hood. I cut the factory number board inserts from the original light pipe and glued them permanently into the shell. I used some green putty to hide the seams then sanded the entire area flat. I added new metal grab irons and nut-bolt-washer castings to replace the grab iron bolt detail that I’d sanded off. The SP light cluster is from Detail Associates. I added class light blanks from BLMA.
SP GP35R 6322
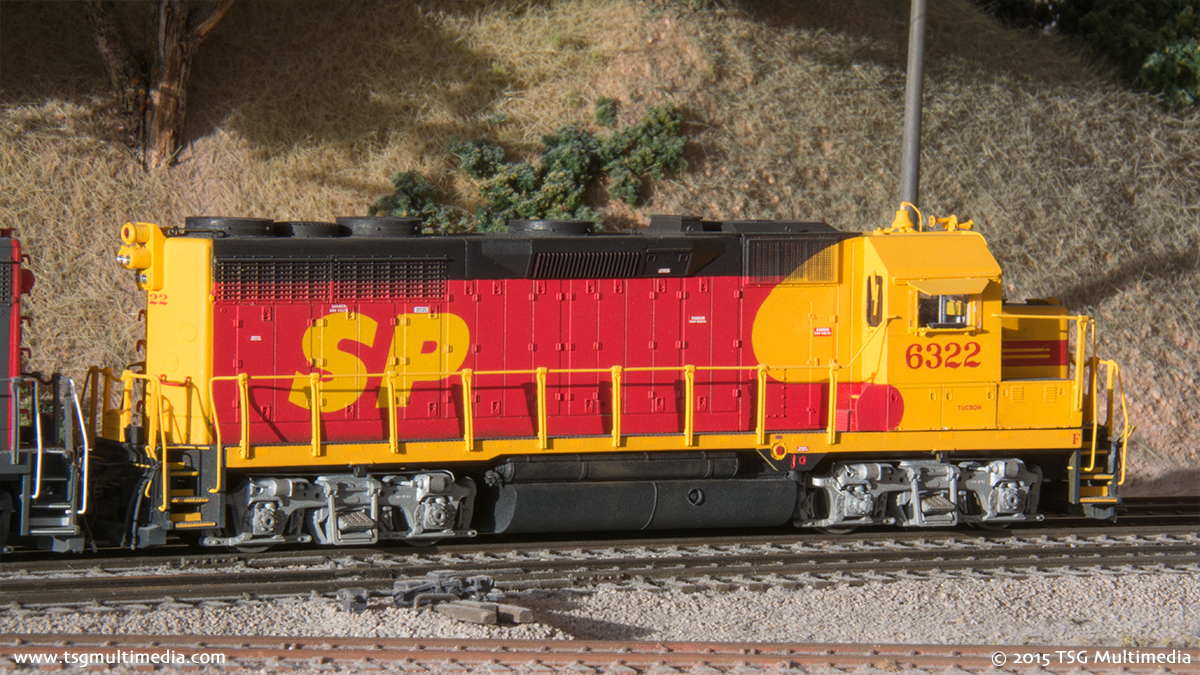
The roof was modified with Cannon fans. I used a Cannon turbo exhaust and inertial filter hatch. The 6322 had a raised inertial filter hatch instead of the flat one on the stock model. Other roof details include lift rings and a custom made curved grab iron on the rear of the long hood. I replaced the original handrails with new ones made from brass wire and Precision Scale stanchions.
The cab, cab base and short hood are all Cannon parts. I used the optional SP split equipment doors on the cab base. The louvered battery box doors are from Hi-Tech Details. I fabricated an antenna conduit from brass wire that runs up the front of the cab and across the roof to a Detail Associates antenna. The cab also has an SP-style bell and 3-chime Nathan air horn.
I chose to build my model of SP GP35R 6322 with the full SP light package. Most of the lights are done with 3mm LEDs shining through fiber optic lenses. The rear emergency light uses a 603 surface-mount LED embedded in the light housing. The number boards in front work independently from the headlight. They are illuminated by more 603 surface-mount LEDs.
My model of SP GP35R 6322 is painted with Scalecoat paints. The decals are from Microscale. Numerous other small details like sunshades and windshield wipers were added after painting to complete the model.
The locomotive is equipped with a LokSound Select DCC sound decoder.
Comments are closed.