This article was originally presented on our Facebook page as a series of photos with captions.
1. Inspriration
Pulpwood Car
I’m sure a lot of us have cars like this stashed away somewhere. I couldn’t bring myself to throw them away, but I had no success selling them on eBay, either. No one seemed to want them.
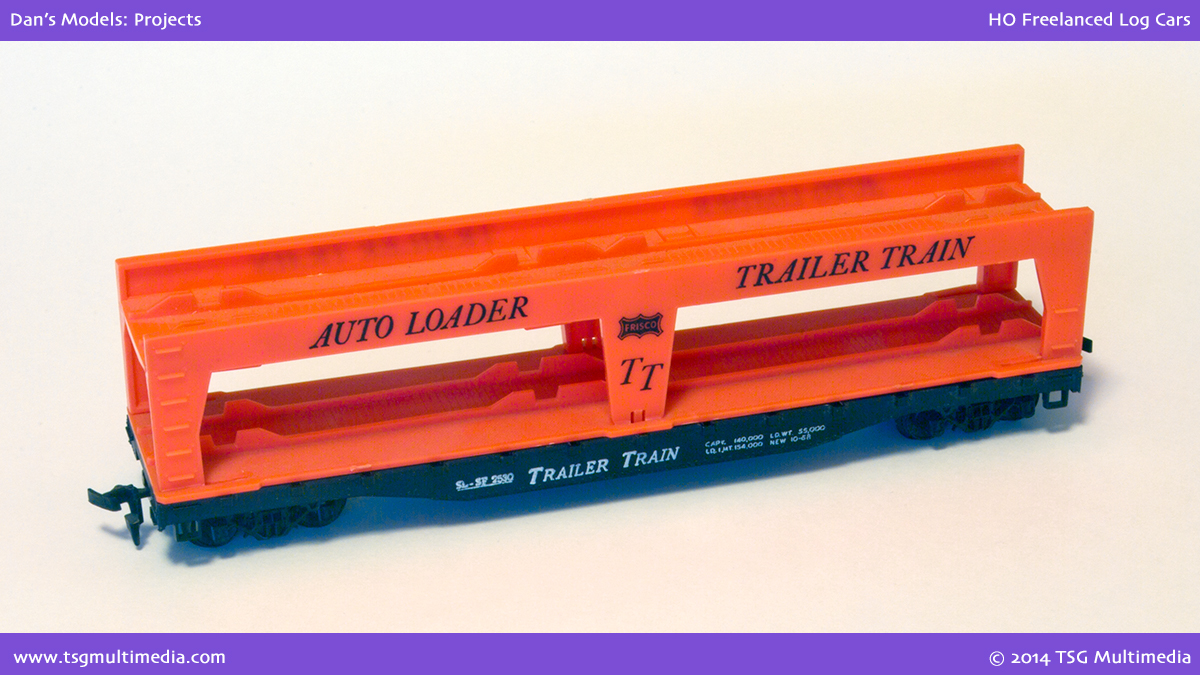
Auto Loader
So I started to think about what I might do with them. I noticed that both of these cars are based on the same flatcar body, and that part is actually not such a bad model. That gave me an idea…
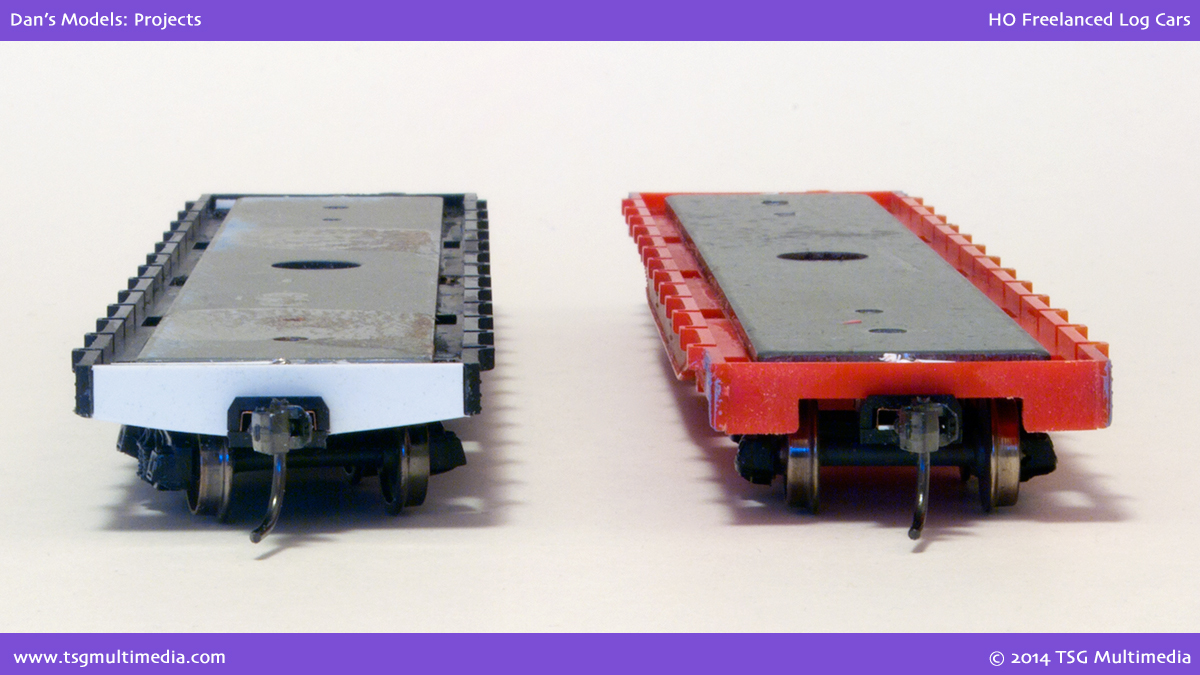
2. Disassembly
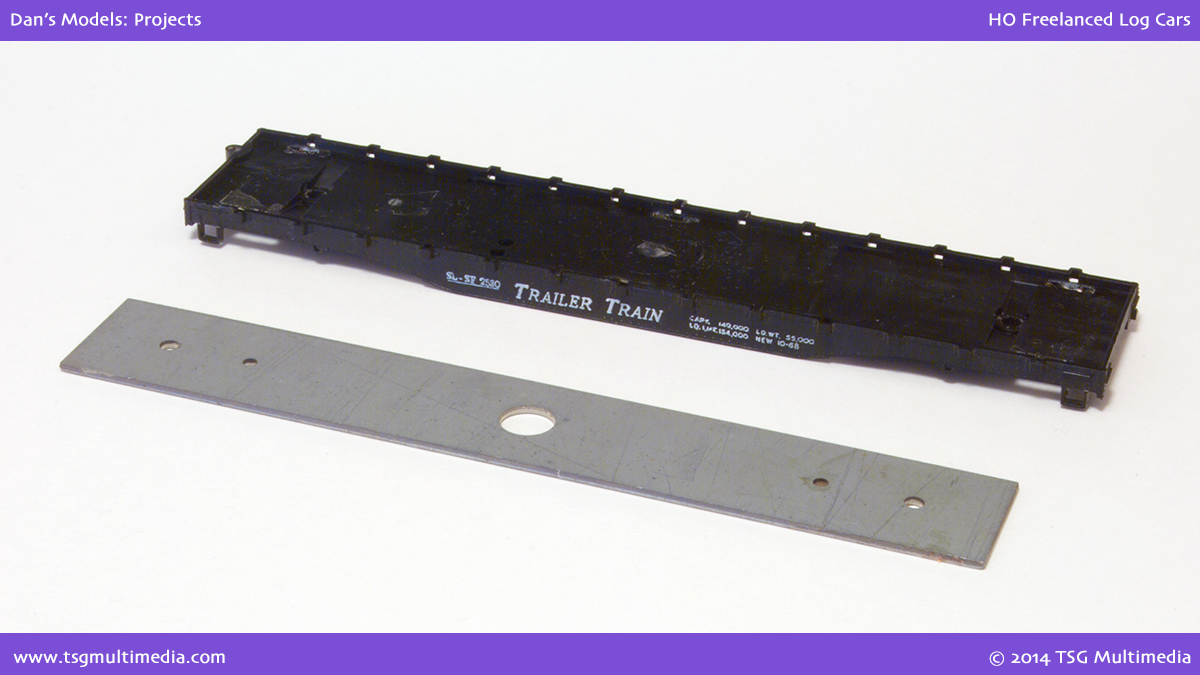
Disassembled Car
I disassembled both cars completely, keeping only the flatcar bodies and weights. The flatcar bodies have nice stake pocket detail. Underside detail is minimal but it’s not really visible with the fishbelly sides.
I don’t know if these cars were modeled after a prototype or not, so I decided not to worry about it. I just wanted to have some fun with this project. My goal was to create a couple of plausible freelanced cars that wouldn’t look out of place with all my other detailed rolling stock.
3. New Trucks and Couplers
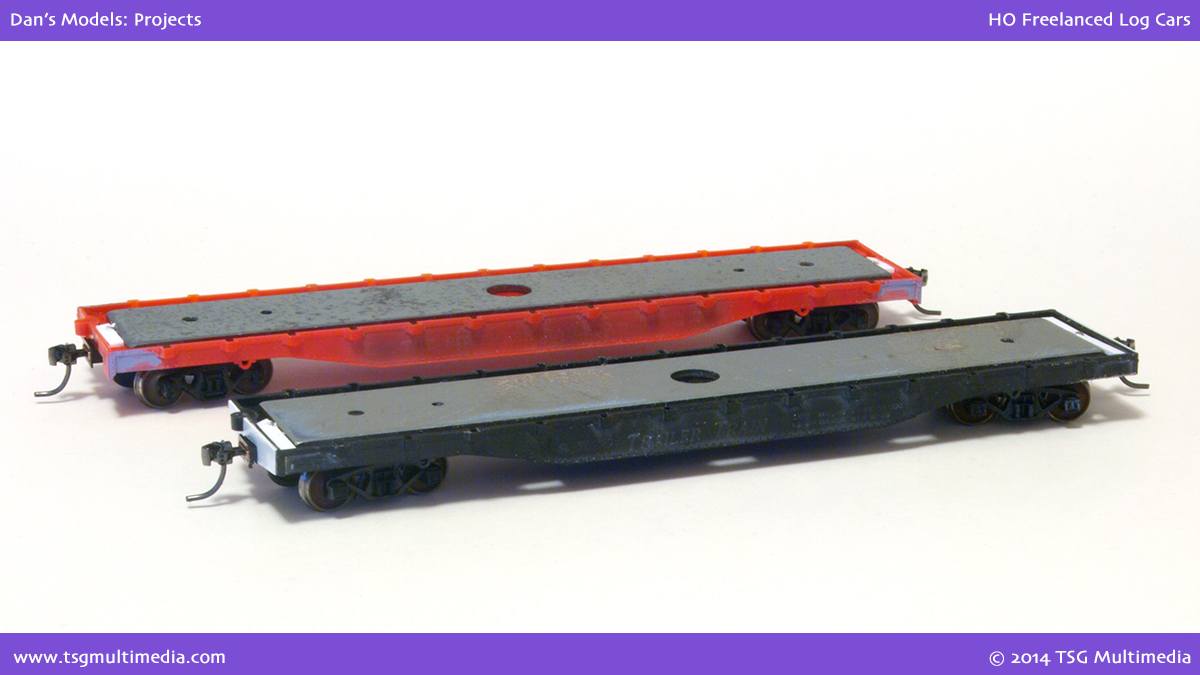
Cars with body-mounted Kadee No. 58 couplers, new trucks, and metal wheels
The first thing I did was to equip the cars with some trucks with metal wheels from my spares box and Kadee #58 couplers. I took some time to make sure that the wheels were in gauge and the couplers were at the proper height. I also trimmed off the original stirrup steps and molded-on grab irons and sanded everything smooth.
4. New Ends
New End Plate (on left) vs. Original (right)
At this point the red car on the right still has its original end, with an oversized opening to accommodate the original truck-mounted couplers. The car on the left shows a new end piece I made from scrap styrene. Even though these cars were freelanced, I did some reshaping on the ends following photos of similar prototype cars.
5. End Detail

End Detail
I detailed the ends of the cars with Tichy grab irons, Grandt Line nut-bolt-washer castings, Detail Associates uncoupling levers, air hoses and stirrup steps, and Kadee brake wheels. They’re not visible from this angle, but I also used some Archer rivet decals to replace a few rivets that I’d sanded off while removing the cast on grabs on the sides. All of this was stuff I already had on hand.
The flatcar deck is grooved styrene sheet from Evergreen. It is labeled as O scale car siding but the groove spacing between “planks” looked about right for a car deck in HO. The sheet plastic was the first thing that I had to go out and buy for this project, and it was plenty for two cars with quite a bit left over.
6. Log Bunks
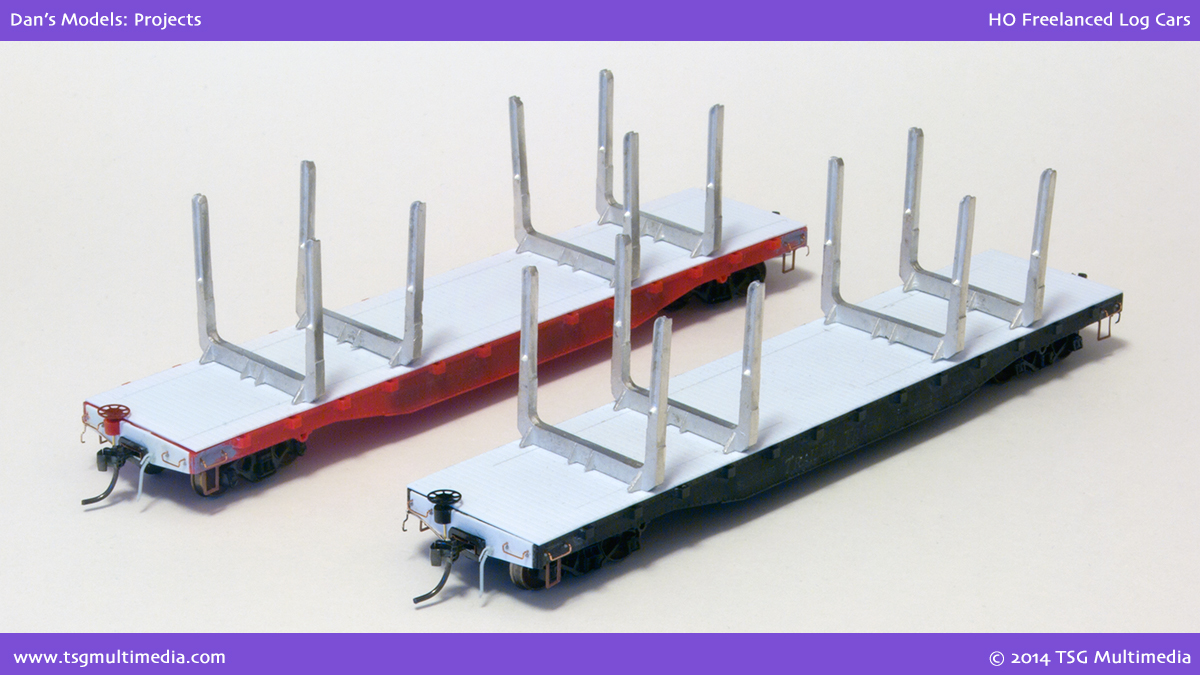
Log Bunks
Though these models would have worked just fine as ordinary flatcars, I thought they were a good excuse to try out some Details West log bunk castings. These were the only other parts that I bought new for this project. All in all I spent about $10 in new parts, not bad for two cars.
The flatcar decks and log bunks were not glued down yet when these pictures were taken, so that I could paint those parts separately.
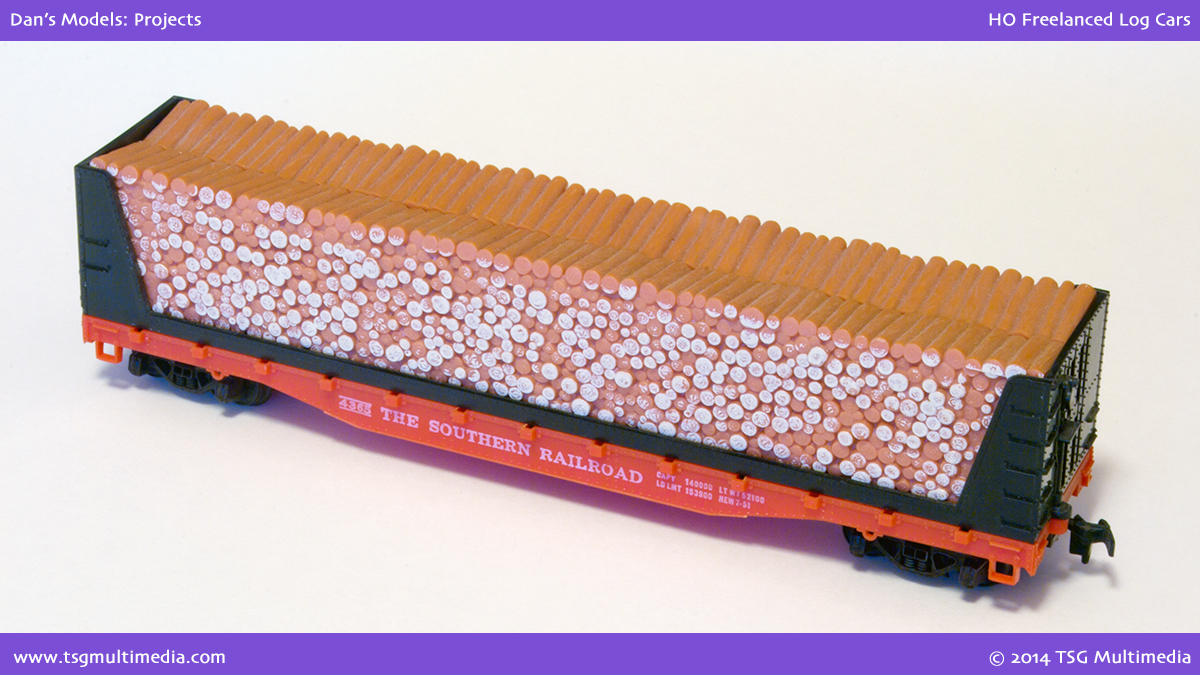
7. Finished Cars
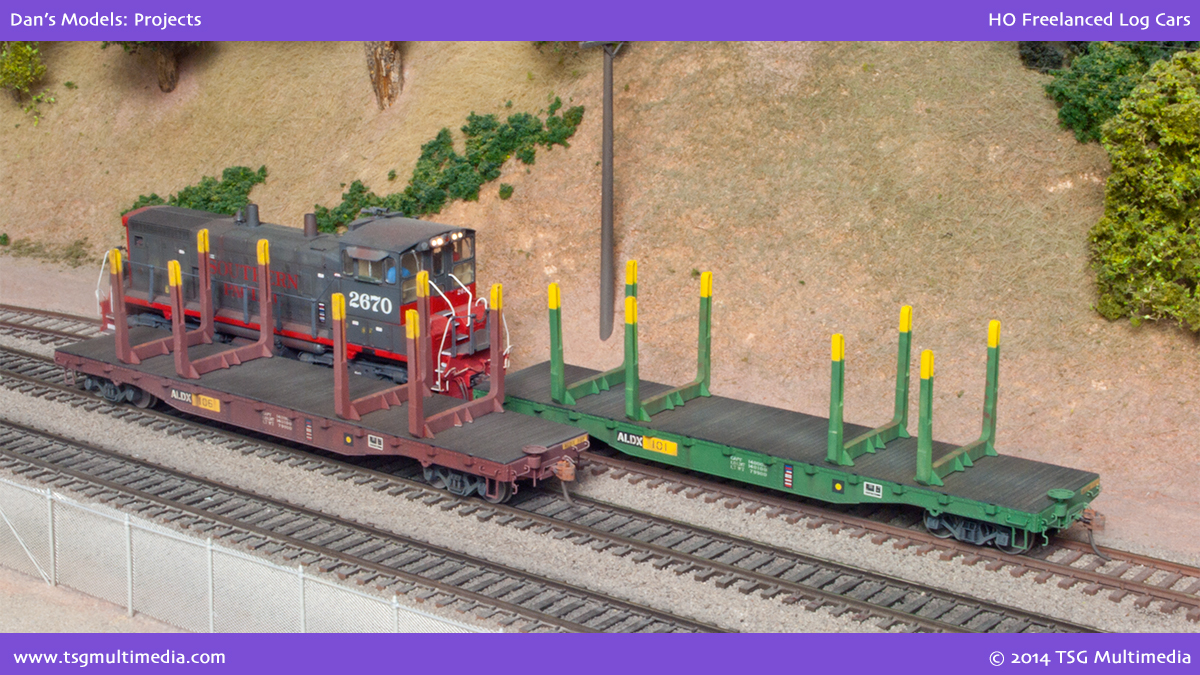
Finished Log Cars
Just for some variety I painted one car green and the other boxcar red. I used various Microscale decal sheets to decorate the cars, and “patch” them for a fictitious private owner. A little weathering completed the job.
Overall I’m pleased with how these turned out. For a minimum of effort and expense I turned a couple of unwanted old train set cars into models that I like. Now I just need to go outside and find some suitable HO scale “logs”!
Comments are closed.