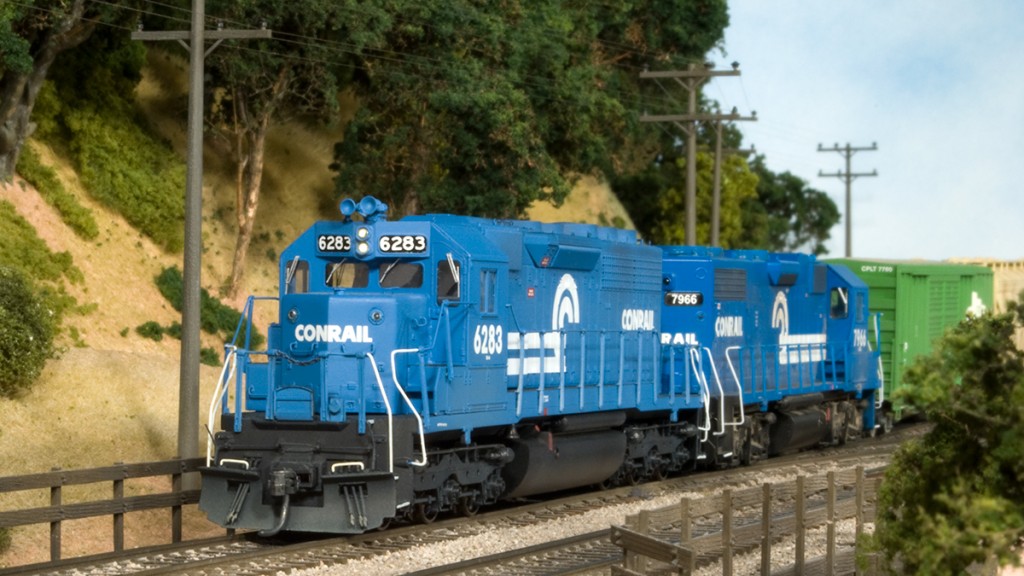
Kato SD40
Kato SD40, Conrail 6283
Overview
CV Programming – Digitrax DH165A0
Construction
Review
Having lived on the west coast my entire life, seeing a Conrail unit was a rare treat. I photographed SD40 6283 in Truckee, California in 1993. I knew I wanted to make a model of it, and it only took me 15 years to get around to finishing it!
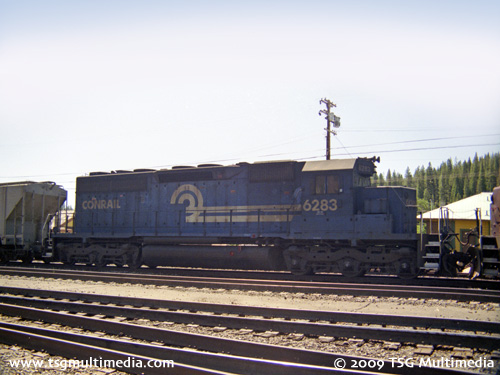
Conrail 6283, Truckee, California, 1993
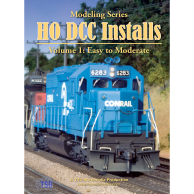
The model started out as an older Kato SD40 that I bought off eBay. On the DVD I show how I installed a Digitrax decoder, including wiring up custom LED headlights and marker lights that use fiber-optic lenses.
CV Programming – Digitrax DH165A0
Only common CVs or those that were changed from their default values are listed. Some settings reflect my personal preferences for speed matching and performance.
| CV | Value (decimal) | Notes |
| 2 (start speed) | 2 | This controls the minimum voltage applied to the motor at speed step 1. |
| 3 (acceleration) | 36 | This controls how quickly the locomotive changes speed when accelerating. |
| 4 (deceleration) | 28 | This controls how quickly the locomotive changes speed when decelerating. |
| 5 (top speed) | 110 | This controls the maximum voltage applied to the motor at full throttle. |
| 6 (mid speed) | 50 | This controls the voltage applied to the motor at half throttle. |
| 17 (extended address) | 216 | For locomotives with a 4-digit address, CV 17 and 18 together determine the address. To be honest I never try to set these manually. My Digitrax system does all this automatically for me when I program a 4-digit address. |
| 18 (extended address) | 139 | see CV17 |
| 29 (configuration) | 38 | The setting of CV29 is complex. See your decoder instructions. Your DCC system may set CV29 for you when programming your locomotive’s address. If you need to modify CV29, it’s best to do it after setting the address. |
| 35 (function F1) | 0 | Setting this CV to 0 disables the F1 key on the DCC controller from having any effect on the F1 output on the decoder. |
| 36 (function F2) | 0 | Setting this CV to 0 disables the F1 key on the DCC controller from having any effect on the F2 output on the decoder. |
| 37 (function F3) | 0 | Setting this CV to 0 disables the F1 key on the DCC controller from having any effect on the F3 output on the decoder. |
| 38 (function F4) | 3 | Setting this CV to 3 remaps the F1 and F2 outputs on the decoder to activate when the F4 key on the DCC controller is pressed. This is used to activate the red Conrail marker lights. |
| 51 (function F1 effect) | 48 | CV51 and CV52 are set up to make the red marker lights directional. That is, when the locomotive is going forward, only the red lights on the rear light up, and vice versa. I have no idea if this is proper Conrail practice (I’m a west coast guy, remember?), but I like it. I used one function lead for the forward marker lights, and the other for the rear. |
| 52 (function F2 effect) | 32 | see CV51 |
| 55 (BEMF) | 64 | Digitrax calls this one “Static Compensation”. I used a moderate value here (range is up to 255). |
| 56 (BEMF) | 128 | Digitrax calls this one “Dynamic Compensation”;. I left this one at the default. |
| 57 (BEMF) | 119 | This controls the BEMF intensity. 119 is 77 in hexadecimal, which for this variable means that the intensity in an advanced consist is 7 and the intensity for solo running is also 7. |
The model was modified with a Cannon cab and nose. You might notice that in the work-in-progress photos, the cab base is yellow. That’s because I destroyed the original cab base with paint stripper.
Tip: do not use chemical paint strippers of any type on Kato shells. Use a hobby sandblaster to strip paint, or buy an undecorated shell. I learned this one the hard way. The long hood became somewhat brittle from the paint stripper and actually has a couple of hairline cracks that I was thankfully able to glue back together with liquid cement. So far the model has held up well, though I try not to handle it any more than necessary.
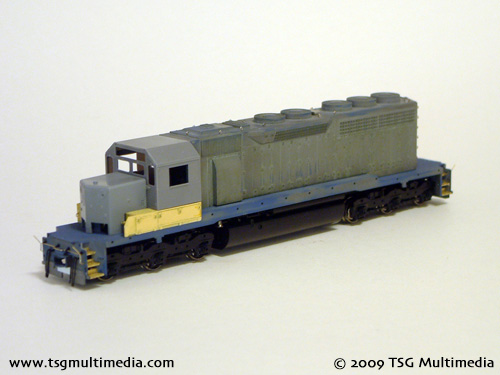
In-progress Front View
Additional details include photo-etched steps, custom made uncoupling levers, a Details West plow, custom made brass handrails (not shown), and various other small parts.
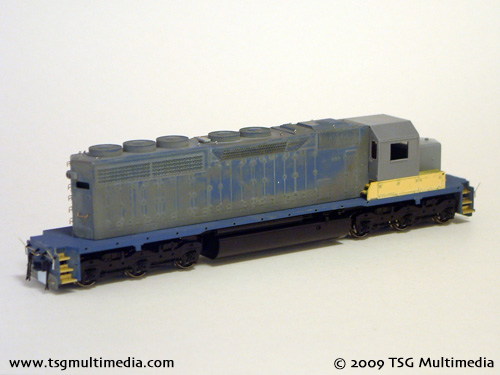
In-progress Rear View
Locomotive
This locomotive is proof that even an older Kato can still be a great model. The drive is smooth and nearly silent. The tooling of the shell holds up well even by today’s standards. The stock model is a little light on detail, but that’s a relatively easy problem to correct. My biggest complaint about early Katos are the handrails, which are oversized and made of some type of plastic that won’t hold paint for any length of time. As described above, I made new handrails from brass wire and stanchions.
Even though Conrail units tend to be fairly stock-looking in photos, I had to make quite a few modifications to the shell to produce a reasonably authentic copy of CR 6283. I did not do anything to the drive aside from installing the decoder.
Decoder
The DH165A0 runs the locomotive well, giving good smooth overall performance. If you look on the Digitrax website you might notice that the DH165A0 is listed as being made for Athearn locomotives. The DH165K0 is the Kato version, though they are really the same board, except that the Kato has some wire extensions soldered to it designed to mate with the clips on the wire leads from the trucks. You don’t need these if you solder your connections, however, and the DH165A0 can usually be had a little cheaper for some reason.
In the past some Digitrax decoders have exhibited a strange “speed jump” problem, where the rate of acceleration or deceleration would surge at a specific place on the DCC throttle when BEMF was enabled. Thankfully I haven’t been able to make this locomotive do this, so maybe Digitrax has fixed this issue.

Comments are closed.